Why Glute Bridges Stop Producing Any Burn Once They Get Easy (And What to Actually Progress To)
Quick Answer: Bodyweight glute bridges hit their ceiling fast — often within weeks — because the load can’t grow. The signs are obvious once you know them: no fatigue by rep 15, sets creeping past 20, no soreness ever. Progress to single-leg bridges, then hip thrusts with actual weight, then heavier hip thrusts. That’s the path.
Three sets of 20, every session, for months. They used to be hard. Now they’re a warm-up you do while thinking about something else.
Here’s the thing nobody says out loud: bodyweight bridges were never meant to be a permanent exercise. They’re the first rung.

Why Do Bodyweight Glute Bridges Have Such a Quick Ceiling?
Because the load is capped by your own anatomy and it never increases.
A bodyweight bridge lifts a fixed portion of your body mass through a fairly short range. That number doesn’t change as you get stronger. So the exercise’s difficulty relative to your capacity drops continuously — and by the time you’ve done it consistently for a month or two, it’s landing well below the threshold that drives strength adaptation.
Two things accelerate the drop:
- The glutes respond quickly to novel loading. Early gains are fast, especially if you weren’t training them directly before. Fast gains mean you outgrow the load fast.
- You get more efficient at the movement. Better motor control means less wasted effort at the same load, so the felt difficulty falls even faster than your strength rises.
That combination is why a lot of people describe bridges as “working great” for a few weeks and then feeling like nothing. Both descriptions are accurate. Nothing broke.
What Are the Signs You’ve Hit the Ceiling?
Four, and they’re all easy to check honestly.
1. No meaningful fatigue by rep 15. If you could clearly keep going and the last rep looks like the first, the load isn’t producing a strength stimulus.
2. You’ve been adding reps rather than load. Sets that have crept from 12 to 20 to 30 aren’t progressing — they’ve quietly become endurance work while you were still calling it strength training.
3. No soreness, ever, even after a longer session. Soreness isn’t a required marker of good training, but its complete absence over months alongside no load increase is a reasonable signal.
4. You could do them for two minutes straight. If a set has effectively become a hold-until-bored exercise, you passed the ceiling a while ago.
Worth being clear: hitting the ceiling is a good outcome. It means the exercise did its job. The mistake isn’t outgrowing bridges — it’s staying there afterward.

What Nobody Tells You About Glute Progression
Nobody tells you that the progression is mostly about load, not about exercise variety. People collect twelve bridge variations and never add a single pound. Ten variations of an easy exercise is still an easy exercise.
Nobody tells you that the burn stops being a useful metric once you’re loading properly. Heavy hip thrusts often produce less burning sensation and considerably more adaptation than high-rep bodyweight work.
Nobody tells you that band-around-the-knees is not a load progression. It changes abduction demand, which is genuinely useful, but it doesn’t increase hip extension load — the thing that stalled.
And nobody tells you that your first weighted session will feel awkward rather than hard. Positioning a bar on your hips, finding a bench height, figuring out foot placement — expect a session or two of clumsiness before the loading actually starts.
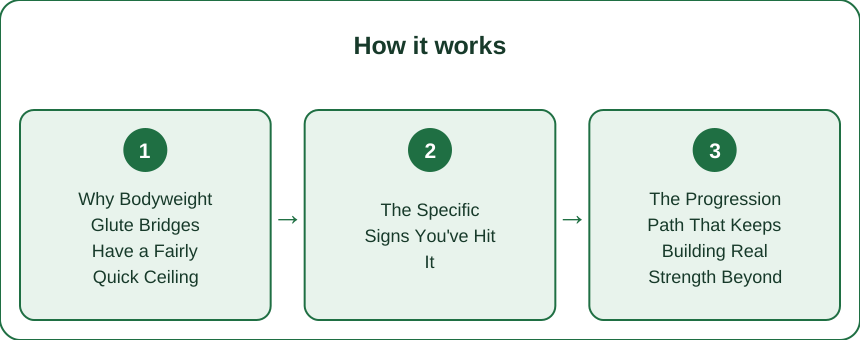
What’s the Actual Progression Path?
Four steps. Spend 4–6 weeks at each before moving on.
Step 1 — Single-leg glute bridge. Free, immediate, and roughly doubles per-side demand. Start at 8–10 controlled reps per side. If your hips rotate toward the working side, reduce reps until they don’t.
Step 2 — Weighted floor bridge. A dumbbell or loaded bag across the hips. Use a pad or folded towel; a bare dumbbell on your hip bones is a bad time. 3 sets of 10–12.
Step 3 — Hip thrust off a bench. Shoulders on a bench, hips fully loaded, considerably larger range of motion than a floor bridge. This is where the real long-term loading lives — you can progress this for years. Start at 3 sets of 8–10 with a weight you could manage a couple more of.
Step 4 — Progressive overload on the hip thrust. Add weight when you hit the top of your rep range with clean form. Track the number. That number going up over months is the whole point.
Keep bodyweight bridges as a warm-up — they’re genuinely good for that. Just stop counting them as training.
A small comfort note that isn’t small: hip thrusts put a loaded bar across your hips and your back against a bench, and anything that rolls or bunches at the waist becomes a real problem under load. Squat-proof high waist leggings with a wide, secure waistband make this considerably more tolerable.
When to see a professional: if bridges or thrusts produce lower-back rather than glute fatigue, or one side is persistently much weaker, get a physical therapist’s eye before adding weight. This is general information, not medical advice.
FAQ
How much weight should I start hip thrusts with?
Something you could complete 12 reps with, used for sets of 8–10. Starting conservatively lets you learn the setup and bar position before the load gets serious.
Do I need a barbell?
No. Dumbbells, a kettlebell, or a loaded backpack all work for the early stages. A barbell becomes useful once the load outgrows what you can comfortably balance by hand.
How often should I train this?
Two to three times a week with at least a day between hard sessions. Frequency matters less than whether the load is actually increasing over time.
TL;DR
- Bodyweight bridges have a fixed, low ceiling — the load can’t grow with you.
- Signs you’ve hit it: no fatigue by rep 15, rep counts creeping upward, no soreness ever.
- Progression path: single-leg bridge → weighted floor bridge → bench hip thrust → progressively heavier hip thrust.
- Load is the progression, not variety. Track the weight, not the burn.
- Check with a PT if you feel it in your lower back or one side lags persistently.
See It in Motion
Seen here: High Waist Yoga Leggings with Inner Pocket — shop it on bubblelime.com
Keep Reading
This article is for general informational and styling purposes only. Fit, sizing, and product availability may vary.